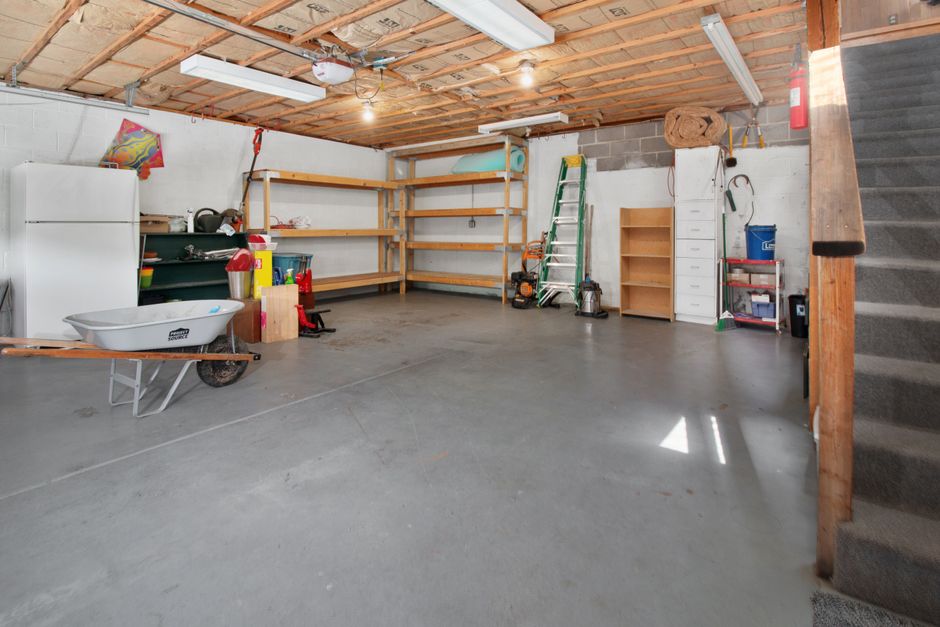
Garage floors take more abuse than almost any other surface in a home. Between vehicle traffic, dropped tools, road salt in winter, and the temperature swings we get across the Treasure Valley, bare concrete tends to stain, dust, and crack over time. Epoxy coatings are one of the most common solutions homeowners ask us about, and if you’re weighing the option, it helps to know what a professional install actually involves.
Why Concrete Prep Matters More Than the Coating
The single biggest factor in how long an epoxy floor lasts is not the product on the label — it’s the surface underneath. Concrete is porous, and if a coating is applied to a slab that’s dirty, sealed, or too smooth, it can peel or bubble within months. That’s why proper preparation is the majority of the work on any coatings job.
For most Boise garages, prep includes diamond grinding or shot blasting the concrete to open the pores, repairing cracks and spalled areas, and cleaning up any oil stains that would otherwise reject the coating. Skipping these steps is the main reason DIY kits and cut-rate installs fail early.
Epoxy vs. Polyurea: A Quick Note
Epoxy has been the standard for decades and still performs well in garages that stay above freezing. Polyurea and polyaspartic coatings have become popular alternatives because they cure faster, resist UV yellowing better, and remain more flexible when temperatures shift. We offer both, and the right choice depends on how you use the space, your timeline, and your budget.
What a Typical Install Looks Like
Every floor is a little different, but most residential garage projects follow a similar sequence:
- Clear and inspect the slab — the garage needs to be emptied so we can assess cracks, moisture issues, and any prior coatings.
- Mechanical grinding — diamond grinders profile the concrete so the coating can bond mechanically, not just chemically.
- Crack and joint repair — structural cracks and control joints are filled with a compatible patching product.
- Base coat application — the primer or pigmented base is rolled and back-rolled evenly across the slab.
- Decorative flakes (optional) — vinyl color flakes are broadcast into the wet base for texture, slip resistance, and a finished look.
- Top coat — a clear top coat seals everything in and provides the chemical and abrasion resistance you’ll rely on for years.
What Affects Longevity
Beyond prep, a few practical things influence how a floor holds up. Moisture coming up through the slab is a common issue in older homes and can cause delamination if it isn’t tested for and addressed. Sun exposure through an open garage door can fade some epoxies over time, which is where UV-stable top coats come in. And regular maintenance — sweeping, occasional mopping, wiping up automotive fluids — extends the life of any coating system.
Planning Your Project
Most single- and two-car garages can be completed in a couple of days, depending on the system chosen and cure times. You’ll typically want to keep vehicles off the floor for a few days after the final coat, so scheduling matters.
If you’re thinking about coating your garage floor, walk through the space and note anything unusual — cracks wider than a pencil, damp spots, existing coatings, or heavy oil staining. Those details help us give you an accurate scope and quote before any grinder touches the concrete.